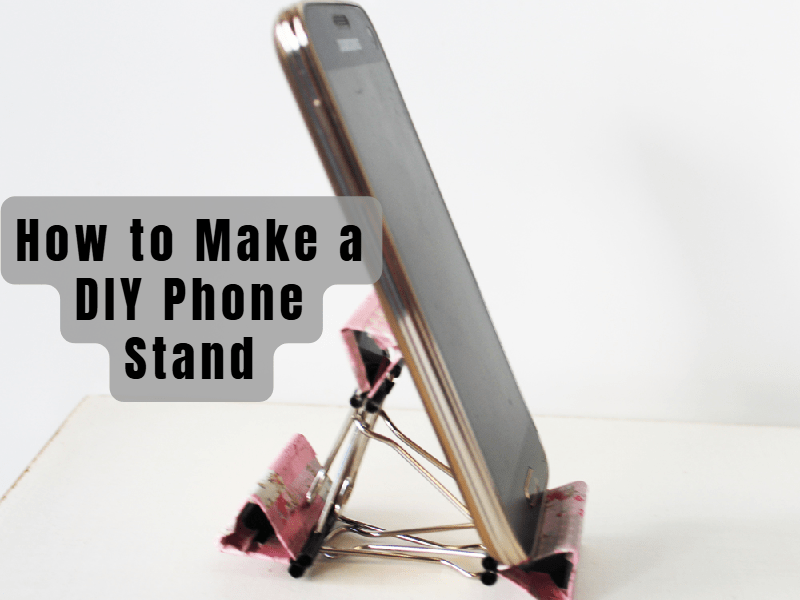
How to Make a DIY Phone Stand
In a world where phones have become our lifeline, a phone stand is an essential accessory. But why buy one when you can create a unique, budget-friendly version yourself? In this guide, we’ll walk you through a few fun, easy ways to craft your own phone stand using items you probably already have at home!

Why Make a DIY Phone Stand?
- Cost-Effective: Save money by repurposing household items.
- Customizable: Personalize it to suit your style and needs.
- Eco-Friendly: Reduce waste by recycling materials.
Materials You’ll Need
Depending on the method you choose, here are some common materials you might use:
- Cardboard
- Popsicle sticks
- Binder clips
- Wooden blocks
- Hot glue gun or tape
- Decorative materials like paint, stickers, or washi tape
Step-by-Step DIY Ideas
1. Cardboard Phone Stand
- Cut a piece of cardboard into a rectangular shape (approx. 6×10 inches).
- Fold the cardboard into a triangular base, leaving a flap to hold your phone.
- Use tape or glue to secure the folds.
- Decorate with paint or stickers.
2. Popsicle Stick Phone Stand
- Glue popsicle sticks together to form a rectangular base.
- Add vertical sticks at an angle to create a phone-holding slot.
- Let the glue dry and paint it as you like.
3. Binder Clip Hack
- Take two medium-sized binder clips.
- Clip them together, forming an angled stand.
- Place your phone in the clip slots. (It’s simple yet functional!)
4. Wooden Block Phone Stand
- Use a small wooden block and carve a groove to hold your phone.
- Sand the edges for a smooth finish.
- Paint or decorate to add a stylish touch.
Tips for Success
- Measure your phone to ensure the stand fits perfectly.
- Choose durable materials for a sturdy design.
- Experiment with different shapes and decorations for a creative look.
Conclusion
Making your own DIY phone stand is not only practical but also a fun project to showcase your creativity. Plus, you’ll feel a sense of accomplishment every time you use it! So, gather your materials and start crafting today.


