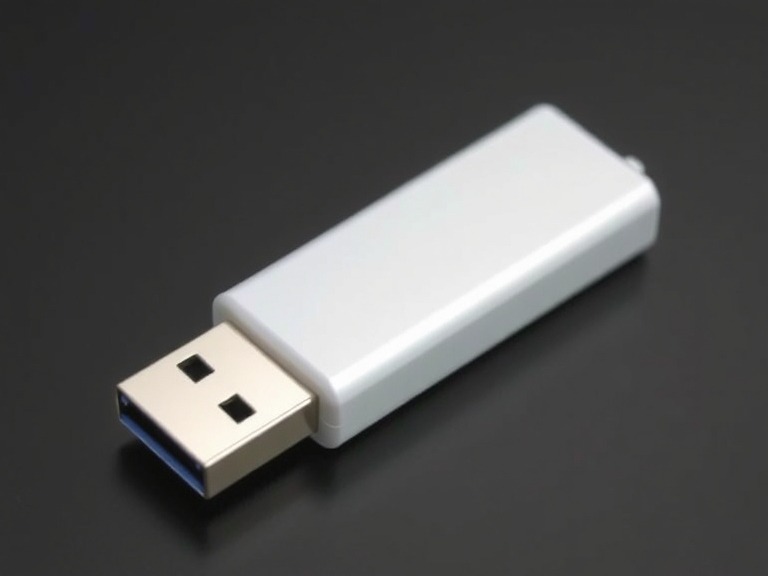
Creating a bootable USB drive is a crucial skill for IT professionals, tech enthusiasts, and even casual users who wish to install operating systems, troubleshoot systems, or run live environments. This guide will walk you through the process with simple steps and helpful tips.

What Is a Bootable USB Drive?
A bootable USB drive contains all the necessary files and configurations to boot an operating system directly from the USB, bypassing the need for a traditional CD/DVD drive. This tool is commonly used for:
- Installing operating systems (Windows, Linux, macOS)
- Running diagnostic tools
- Recovering data
Prerequisites
Before creating a bootable USB drive, ensure you have the following:
- USB Drive: At least 8 GB of storage, though this depends on the operating system size.
- ISO File: The operating system image you intend to install or use.
- Software Tools: Applications like Rufus (Windows), UNetbootin (cross-platform), or the Disk Utility (macOS).
- Computer: A system to execute the steps.
Step-by-Step Guide to Create a Bootable USB Drive
Step 1: Download the Required ISO File
Download the operating system’s ISO file from its official website. For instance, you can get:
- Windows 10 or 11 ISO from Microsoft’s official site
- Ubuntu ISO from Ubuntu’s official page
Step 2: Choose the Right Tool
Select software compatible with your operating system to make the USB bootable. Popular tools include:
- Rufus: Ideal for Windows users. Free and easy to use.
- UNetbootin: Works on Windows, macOS, and Linux.
- Disk Utility: Pre-installed on macOS for creating bootable drives.
Step 3: Format the USB Drive
- Insert the USB drive into your computer.
- Open the formatting tool in your operating system (e.g., File Explorer on Windows).
- Choose the file system (usually FAT32 for better compatibility).
- Click “Format” to erase all data on the USB.
Step 4: Load the ISO File
Use your chosen tool to load the ISO file onto the USB drive:
Using Rufus (Windows):
- Open Rufus.
- Select your USB drive under “Device.”
- Click “Select” to load the ISO file.
- Choose the partition scheme (MBR for legacy systems, GPT for UEFI systems).
- Click “Start” to begin the process.
Using Disk Utility (macOS):
- Open Disk Utility and select your USB drive.
- Erase it using the “GUID Partition Map” scheme.
- Use the
Terminalto copy the ISO onto the drive.
Using UNetbootin (Cross-Platform):
- Open UNetbootin.
- Choose “Diskimage” and load your ISO file.
- Select the USB drive as the destination.
- Click “OK” to start the process.
Step 5: Verify the Bootable USB Drive
Restart your computer and enter the boot menu (usually by pressing keys like F12, ESC, or DEL during startup). Select the USB drive to boot and ensure it functions as expected.
Troubleshooting Common Issues
- USB Drive Not Recognized: Ensure your USB is formatted correctly and the tool has administrative privileges.
- Bootloader Errors: Double-check the partition scheme and target system compatibility.
- Corrupt ISO Files: Re-download the ISO from the official source.
Conclusion
Creating a bootable USB drive is a straightforward process that saves time and enhances flexibility for various tech tasks. With this guide, you’ll be able to create a bootable USB drive effortlessly and handle OS installations or system troubleshooting like a pro.


