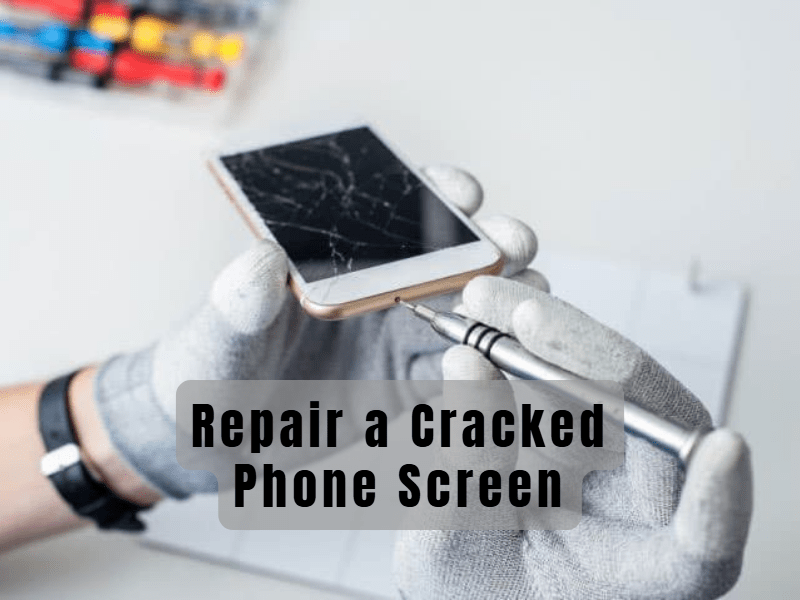
A cracked phone screen can be an eyesore and a frustrating experience. While professional repair services are always an option, many minor cracks can be fixed at home with the right tools and techniques. This DIY guide walks you through repairing a cracked phone screen step by step.

Why Repair Your Cracked Screen?
- Cost Savings: Professional repairs can be expensive, whereas DIY methods are more budget-friendly.
- Convenience: Fixing your phone at home saves time and effort.
- Sustainability: Repairing extends your device’s lifespan, reducing electronic waste.
Step 1: Assess the Damage
Before attempting any repair, evaluate the extent of the damage. Minor cracks can be handled at home, but if the screen is shattered or the touch functionality is impaired, professional help may be necessary.
Step 2: Gather Your Tools
For a DIY phone screen repair, you’ll need:
- Replacement screen (specific to your phone model)
- Screwdrivers (usually a set with different heads for electronics)
- Suction cup
- Pry tools or plastic picks
- Adhesive strips
- A heat gun or hairdryer
- Cleaning cloth and isopropyl alcohol
Step 3: Back Up Your Data
Always back up your data before opening up your device. This ensures you don’t lose any important information during the process.
Step 4: Disassemble Your Phone
- Power Off: Turn off your phone to avoid electrical damage.
- Remove Screws: Use the screwdriver to remove the screws holding the back panel.
- Use a Suction Cup: Attach a suction cup to the screen and gently lift.
- Separate the Screen: Insert the pry tool to separate the screen from the frame.
Step 5: Replace the Screen
- Disconnect Cables: Carefully unplug the cables connecting the screen to the motherboard.
- Install New Screen: Connect the replacement screen’s cables and secure it in place.
- Reassemble: Reverse the disassembly steps, ensuring all parts are tightly secured.
Step 6: Test Your Phone
Turn on your phone to ensure the new screen works properly. Check for touch sensitivity and display clarity.
DIY Alternatives for Minor Cracks
For small cracks, these quick fixes might work:
- Toothpaste: Apply a small amount of toothpaste to a soft cloth and gently rub it over the crack.
- Clear Nail Polish: Carefully apply nail polish over the crack and wipe off the excess.
- Screen Repair Kits: Purchase kits designed for minor screen damages.
When to Seek Professional Help
If your phone has severe damage, such as deep cracks or impaired functionality, it’s best to consult a professional repair service. DIY methods may not suffice for extensive damage and could worsen the issue.
Preventing Future Cracks
- Use a durable phone case.
- Apply a tempered glass screen protector.
- Avoid placing your phone in pockets with keys or sharp objects.
- Handle your phone with care, especially on hard surfaces.
Conclusion
Repairing a cracked phone screen can be a satisfying DIY project, saving both time and money. By following this guide, you can fix minor screen issues and keep your phone in top condition. Remember, for more extensive damage, professional assistance is the safest choice.


