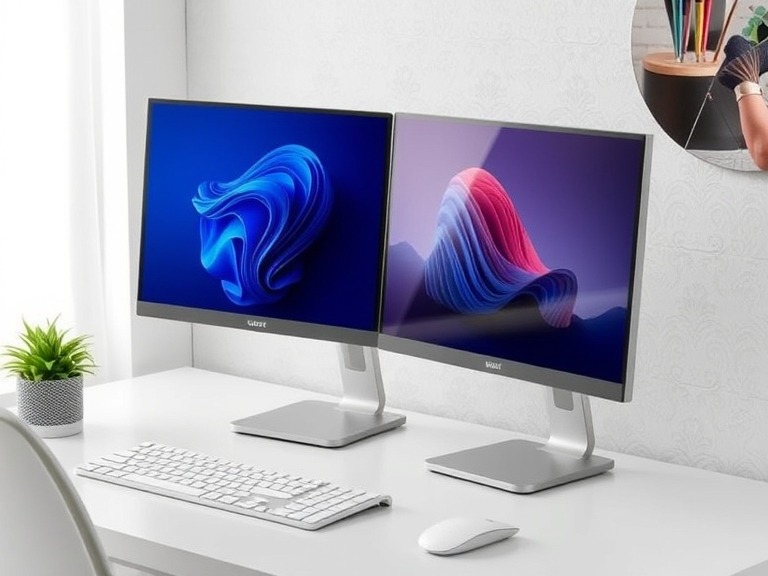
In today’s digital age, having a dual monitor setup can significantly enhance your productivity, whether you’re working, gaming, or multitasking. A second screen can provide more space for your work, help you organize tasks efficiently, and even improve your overall experience.
If you’re ready to upgrade your workspace, this guide will walk you through the entire process of setting up a dual monitor system.

Why Use a Dual Monitor Setup?
A dual monitor setup offers several benefits:
- Increased Productivity: Seamlessly manage multiple applications without toggling between tabs.
- Enhanced Multitasking: Work on one screen while referencing materials on the other.
- Better Collaboration: Share your screen with others while keeping personal tasks visible only to you.
- Improved Gaming Experience: Expand your gaming field of view or use one screen for gameplay and the other for streaming/chat.
Step 1: Gather Your Equipment
To set up a dual monitor system, you’ll need:
- Two Monitors: Ensure both monitors are compatible with your PC or laptop.
- Cables: Depending on the available ports, you may need HDMI, DisplayPort, VGA, or DVI cables.
- Adapter (if required): If your devices have different port types, use an adapter.
- Monitor Stand or Mount: Optional but useful for ergonomic adjustments.
Step 2: Connect Your Monitors to Your PC
- Turn Off Your Computer: For safety, power down your PC or laptop.
- Locate Ports: Check the ports on your PC/laptop and monitors. Common options include HDMI, DisplayPort, and VGA.
- Plug in Cables: Connect each monitor to your PC using the appropriate cable.
- Power On: Turn on both monitors and your computer.
Step 3: Configure Display Settings
Once connected, adjust the display settings to suit your needs:
- Windows:
- Right-click on the desktop and select “Display Settings.”
- Under “Multiple Displays,” choose “Extend these displays” or “Duplicate these displays.”
- Arrange the monitors by dragging them to match their physical positions.
- Click “Apply” to save changes.
- Mac:
- Go to “System Preferences” > “Displays.”
- Click “Arrangement” and organize the displays.
- Check “Mirror Displays” for duplication or leave it unchecked for extension.
Step 4: Optimize Your Workspace
- Adjust Resolution: Match the resolution of both screens for a seamless experience.
- Set Primary Monitor: Choose one monitor as the main display for taskbars and notifications.
- Ergonomic Setup: Position monitors at eye level and adjust angles to reduce strain.
Troubleshooting Common Issues
- Monitor Not Detected: Check cable connections and ensure both monitors are powered on.
- Resolution Problems: Update your graphics driver or manually adjust resolution settings.
- Display Flickering: Use high-quality cables and ensure compatibility between devices.
Final Thoughts
A dual monitor setup is a game-changer for anyone looking to improve their workflow or gaming experience. By following these steps, you can create a functional and efficient workspace tailored to your needs.
Now that you know how to set up a dual monitor system, why wait? Upgrade your setup today and enjoy the benefits of enhanced productivity and multitasking!


