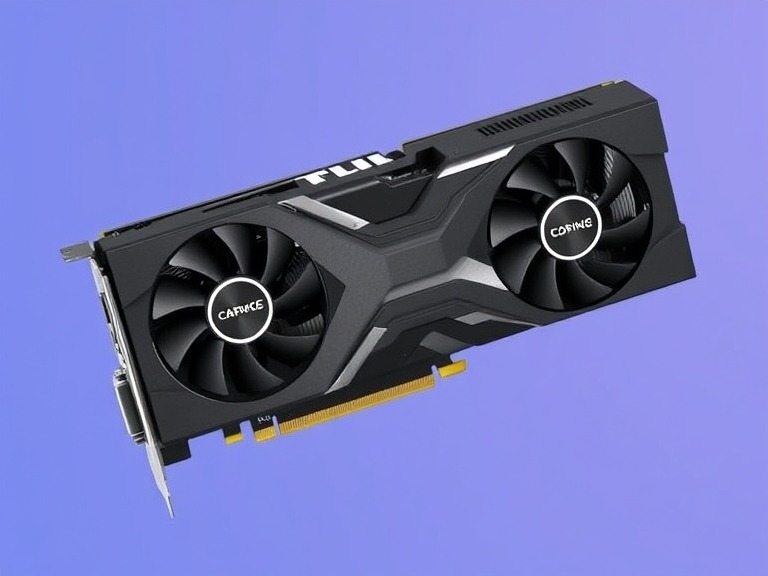
Upgrading your PC’s graphics card is one of the best ways to enhance its gaming and graphic-intensive performance. Whether you’re a gamer, designer, or video editor, a powerful GPU can transform your experience. If you’re unsure how to get started, this guide walks you through the process.

Why Upgrade Your Graphics Card?
Modern applications demand higher GPU performance, and a dated graphics card may struggle to meet these requirements. Upgrading improves:
- Gaming performance: Say goodbye to lag and hello to smooth gameplay.
- Creative workflows: Faster rendering for video editing or 3D modeling.
- Futureproofing: Handle upcoming games and applications seamlessly.
A Step-by-Step Guide
Step 1: Verify Compatibility
Before purchasing a new graphics card, ensure it’s compatible with your PC. Key factors include:
- Motherboard slots: Most modern GPUs require a PCIe x16 slot.
- Power supply: Check wattage and available power connectors.
- Case dimensions: Confirm the new GPU will fit in your PC case.
Step 2: Choose the Right Graphics Card
Consider your requirements:
- Gaming: Opt for GPUs like NVIDIA GeForce RTX or AMD Radeon RX series.
- Creative work: Look for workstation GPUs like NVIDIA Quadro.
- Budget: Balance performance and cost.
Step 3: Uninstall Current Drivers
To avoid software conflicts, uninstall the old GPU drivers.
- Go to Device Manager > Display Adapters.
- Right-click your current GPU and select Uninstall Device.
Step 4: Install the New Graphics Card
- Power down your PC and unplug it.
- Open your PC case and locate the PCIe x16 slot.
- Remove the old card (if present).
- Gently insert the new GPU into the PCIe slot.
- Secure the card using screws and connect the necessary power cables.
Step 5: Install New Drivers
- Power on your PC.
- Download and install the latest drivers from the GPU manufacturer’s website (NVIDIA or AMD).
- Restart your system to finalize the setup.
Step 6: Test Your New Graphics Card
Run a benchmark tool or play a high-performance game to test your GPU. Tools like 3DMark or Unigine Heaven can help assess performance.
Tips for a Smooth Upgrade
- Keep a can of compressed air handy to clean dust from your PC case.
- Always handle components carefully to avoid static discharge.
- Follow your PC case manual if unsure about component installation.
Upgrading your PC’s graphics card doesn’t have to be intimidating. With proper preparation and careful steps, you can enjoy a more powerful system in no time. So, dive in and give your PC the upgrade it deserves!
You May Also Like
How to Resolve Common Windows Errors and Boost Your PC Performance


